Sowing Seeds
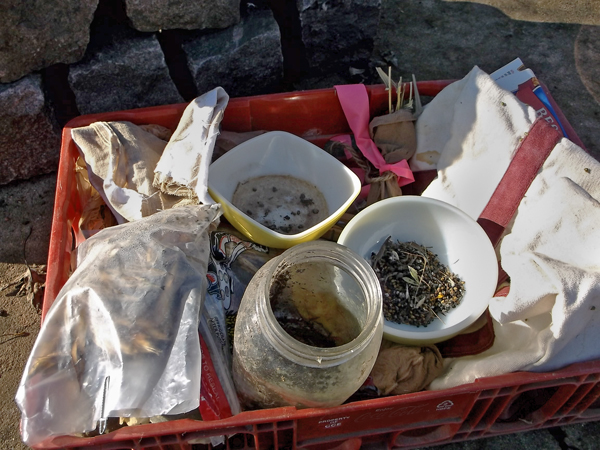
October and November are not only the months when we clean up our vegetable gardens and dig up our tender flowering bulbs, such as Canna, Tuberose, and Calla Lillies, but also when we start planning for next season’s gardens and part of that planning involves planting seeds of perennials that have been collected over the past growing season and stored for fall planting. The photo above, shows the cache of seeds from some of my impromptu (as well as planned) seed collecting this season. Included in the mix above is Prairie Phlox, Cream Baptisia, Lowbush Blueberry, Swamp White Oak, Hill’s Oak, Common Alumroot, Downy Gentian, and Junegrass.
For the most part, the seeds that I’ve collected are native to my area of the Midwest. These seeds may have been collected from plants that are already growing in my yard, which were grown from seed collected in years previous. Other seeds are from native plants that are not currently growing in my gardens, for these, I like to find a local, naturally occurring, seed source. These sites are not always easy to find, they include railroad right-of-ways along roadsides, others are parcels of land in urban areas that were never developed, some are roadside ditches, others are woodlands. During the growing season, I am always on the lookout for flowers and grasses that I can come back for later, to collect their seed. Often, a large showy plant that catches my eye from the car, such as Prairie Dock, will be surrounded by other interesting plants, including Tall Green Milkweed (Asclepias hirtella), Leadplant (Amorpha canescens), or Prairie Phlox (Phlox pillosa) that can only be seen on foot – the locations are written down for later seed collection. It always pays to check out these sites for uncommon plants, marked by common indicator plants such as Prairie Dock.

Harvested Prairie Phlox seed heads still covered with the nylon stockings.
Some seed, such as Prairie Phlox will shoot its seed far and wide as it ripens. To be able to collect the seed, I cover the pollinated flowers with nylon stockings tied at the base with string or a twist tie. Finding a brown stocking in an open field, a month or two later, can be a challenge, I therefore also tie on a piece of plastic marking tape with a bright color, as shown above. Often a rain will cause the enclosed seed head to lean down, making relocation a bigger challenge than might be expected.
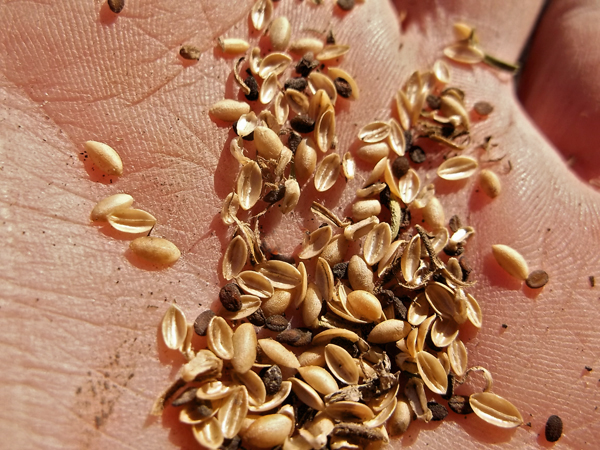 I mark a few flowering phlox with pink tape that I haven’t encased in nylons – these, I use as indicators of seed ripeness. Once I see that these indicator plants have released their seed, I go in a cut the stems of the plants with stockings a put them in a dry place until I am ready to extract the seeds. The picture above, shows the small black seeds mixed in with the chaff – when planting the seed, I don’t bother removing the chaff – for my purposes, it makes no difference if it remains.
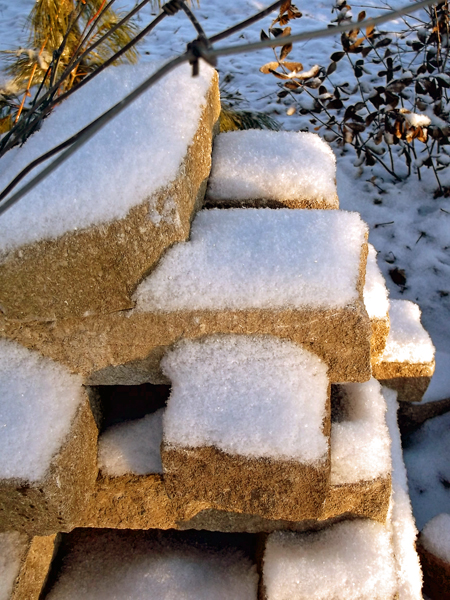
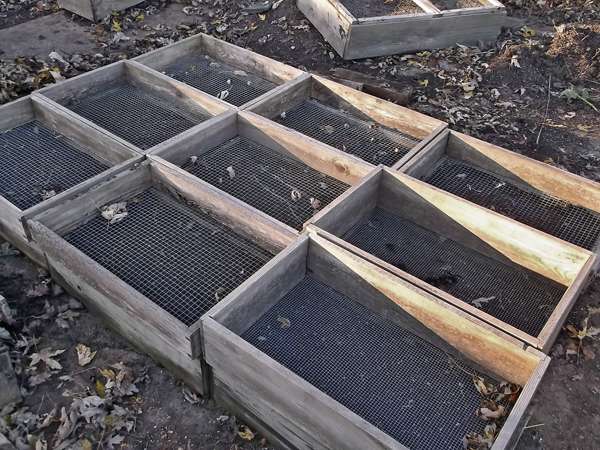
My seed flats are made from 1″ by 4″ lumber, screwed together at the corners, with metal mesh (hardware cloth) stapled to the bottom. While the picture above shows 1/4″ hardware cloth, 1/2″ openings are preferable when leaving the plants in the flats for more than one season. Set on wood chip mulch, the larger openings allow plant roots to grow down into the mulch, when the flats are lifted, much of the root system which is down in the mulch will come up with the flat, the 1/2″ opening in the mesh allow the roots to pull through it when the plants are removed from the flats for planting. Ideally, the plants would be removed from the flats as soon as they have their first true leaves, but sometimes the ideal does not happen, and the plants need to be left in the flats for a longer period. I’ve left Pale Purple Coneflower (Echinacea pallida) in flats, in this way, for over a year – the mature plants, when pulled from the flats transplanted well, and even flowered that same year – where there were roots that broke off, those broken roots were planted and formed plants as well – bonus plants!
 The seed flats are planted in fall, because many native plants need to go through cold moist conditions before they will sprout, some such as Pasture Rose (Rosa carolina) need two years before they will sprout, others, such as Little Bluestem Grass (Schizachyrium scoparium) do not need any cold treatment, and will sprout shortly after they are planted if temperatures are warm enough. Plantsman Bill (William) Cullina explains the particular treatments very well for each species, in his book Growing and Propagating Wildflowers of the United States and Canada, published in 2000.
Around October, when temperatures are still pleasant, I fill the seed flats with soil. A loose mix is best. This allows for good drainage, but also makes it easier to pull the plants out of the flats when it comes time for planting out in to the ground, or pots. This year I mixed some sandy soil with my native silty soil. In the past, I have used composted wood chips, and even peat moss to make a light soil to go in to the flats.
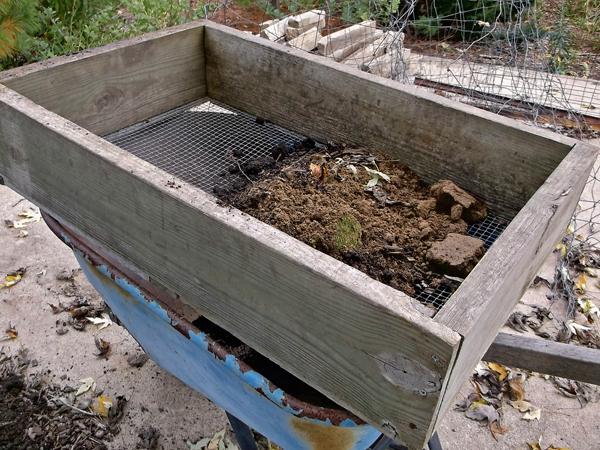 My homemade sifter with 1/2″ metal mesh was made to fit over my wheelbarrow. The mesh is sandwiched between the wood frame and 1″ by 2″ wooden cleats. Drywall screws were used to hold the cleats and the mesh to the wood frame of the sifter. One cleat goes across the center of the mesh to keep it from sagging too much. I used what I had on hand, but using 1″by 8″ lumber, instead of 2 by 8’s, for the sides would make the box much lighter!
 Before filling the flats with soil, lay down a few sheets of newspaper, this keeps the loose soil from falling through the mesh. Once the soil is moistened, this won’t be a problem, and the newspaper breaks down by the following spring – no longer needed.
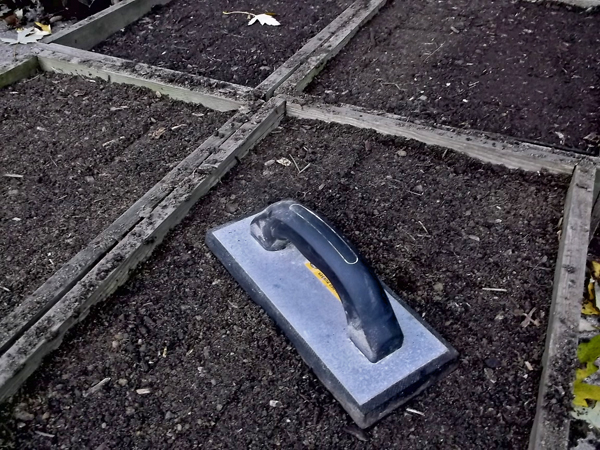 Once the flats are full of soil, lightly tamp the soil to make it level. I use a tool called a “tile float” made for grouting ceramic floor tiles, but a short piece of 2×4 or even a brick will do the job.
 Label the flats with the name of each species planted, and the date that they were planted. I also write down the source of the seed. Top dress each flat with a bit more sifted soil – no more than a half inch is needed, even less for dust like seeds. Then tamp the soil again so the seed makes good contact with the soil.
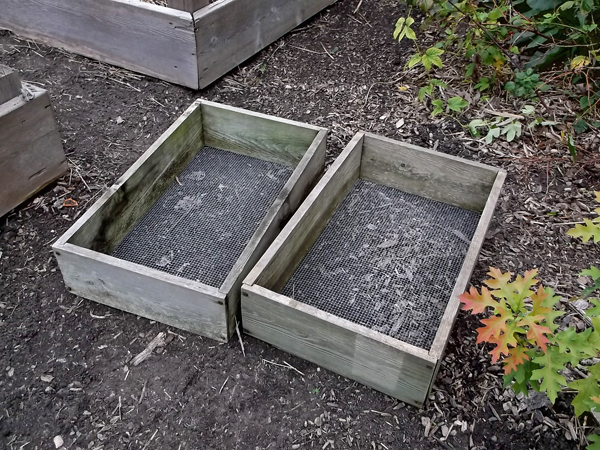
 Cover your flats with wire mesh to protect the seeds from squirrels, birds, and other curious animals. I used empty seed flats to protect my seeds, but window screen material, weighted down with stones works fine, as well. The screening will allow moisture and sun in and keep varmints out.
With the rare exception, all of the native plants in my yard, including my oak trees, were grown in the way described above. It’s easy, cost effective, and rewarding. When spring arrives, you will have plenty of plants waiting for you to set out in the landscape.
Rooting Cuttings
For some of my tender herbs, such as the Pineapple Sage (Salvia elegans) shown above, ornamentals, including showy begonias, and plants such as edible figs, I take cuttings at the end of the season and over winter them indoors.
The Pineapple Sage, a native of Mexico, is a favorite of mine. The scent of the leaves is amazing, and the red flowers, late in the season, are the most intense red I have ever seen – they seem to almost glow! Of course, they can be purchased in spring at many garden centers (I bought my original plant from Ace Hardware), but growing the plant from cuttings in late summer (as late as October), to over winter in your home is so easy, it seems a shame not to. Take enough cuttings to give, as plants, to gardening friends in the spring.
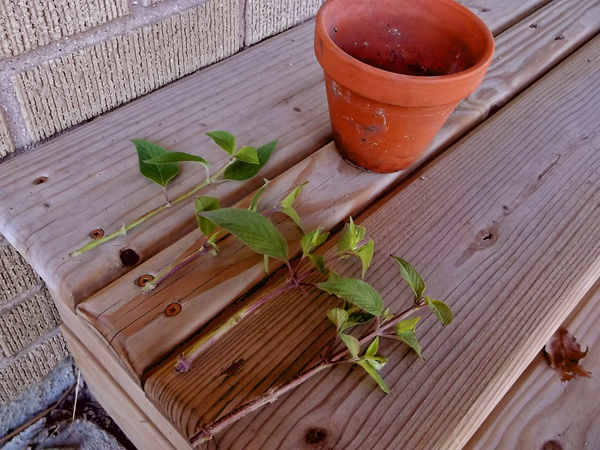
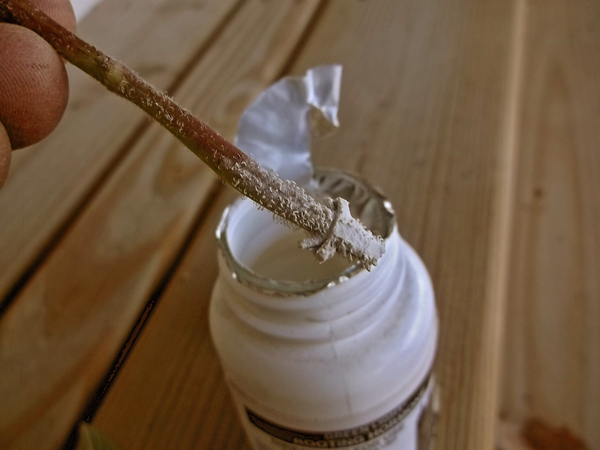
To start, cut off a six inch (more or less) length of stem, just below a leaf node, from the mother plant in late summer (now thirty inches tall in your herb garden), remove the leaves from the lower three inches of the cutting and pinch off the tip growth, as shown above. These can either be stuck right into a mix of 50:50 sand to soil, or perlite to soil or they can be dipped into a jar of rooting powder (rooting hormone, aka. plant growth regulator). A light dusting is all that is needed. In July, I took a cutting and stuck it right into some soil in a pot and the Pineapple Sage rooted, at the end of the season, the rooting powder may move things along more quickly. Make sure to keep the cutting in bright light, but not direct sunlight, until rooting has occurred – about three to four weeks.
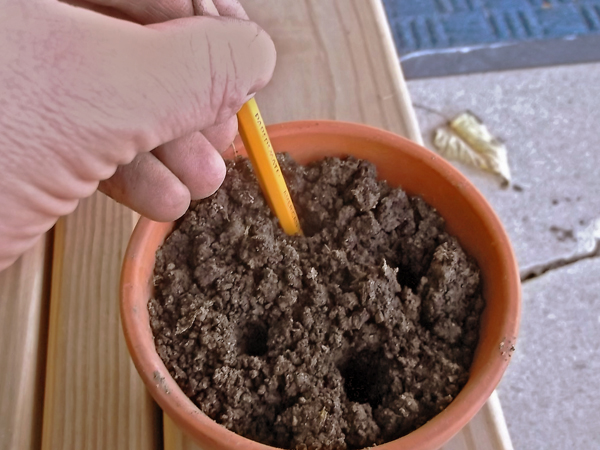

For the cutting I took in July, I simply put the pot in a shady spot outside and kept the soil moist, and the plant rooted just fine in less than a month (with no rooting powder). For the cuttings taken in October, I brought the pot full of cuttings inside and set it in a saucer of water to moisten the soil, the next morning, I removed the pot from the saucer of water, placed it near a east facing window, and loosely placed a stiff zip-lock bag over the pot of cuttings to help keep the humidity higher around the cutting than the dry ambient air. The clay (unglazed terra cotta) also absorbs and gives off moisture, thereby aiding in keeping up the humidity inside the bag, unlike a plastic pot. It is important to let in some fresh air, so do not seal the bag tightly around the pot of cuttings or they will be likely to rot, not root. Remove the bag every few days to check the soil moisture and to remove any leaves that might have fallen on to the soil – they tend to get moldy if not removed. Once the cuttings show new growth, in a few weeks, remove the plastic bag and water as needed.
Overwintering Figs and Ornamental Begonias
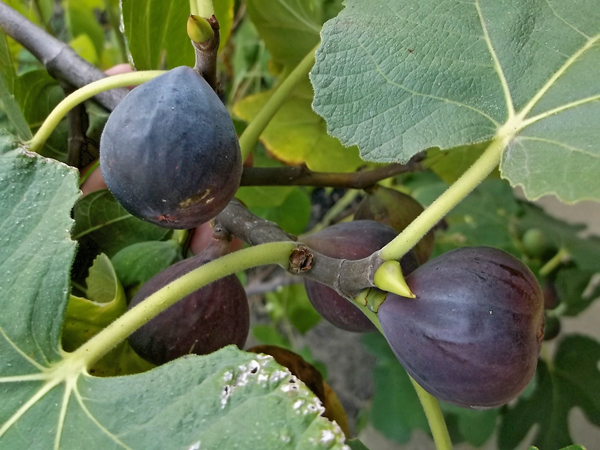
Ripe figs ready to pick and eat fresh in August!
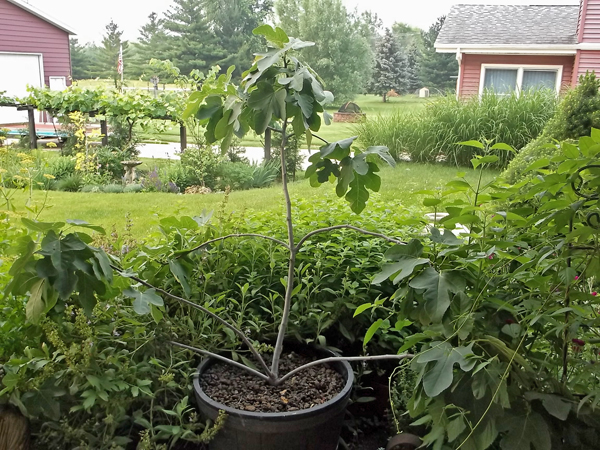
Edible Fig tree in need of pruning.
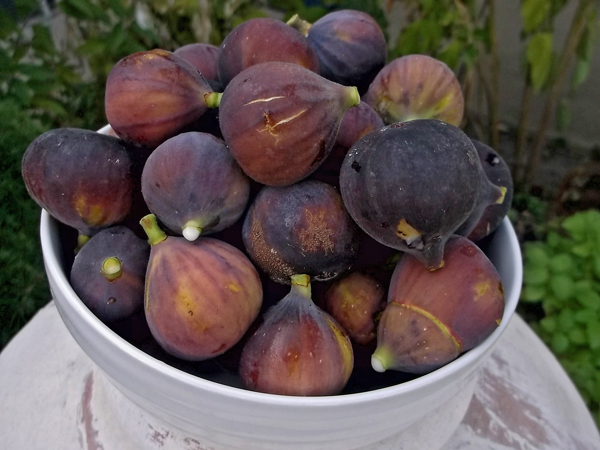
Part of the crop, ready to eat, or freeze.
 As I clean up the garden in early fall, I like to take cuttings of some of my Ornamental Begonias, such as ‘Gryphon’ (shown at right in the photo below)- a newer cultivar that did so well for me this past summer, that I would like to have plants for next summer as well. Other plants, such as my edible fig, were in need of a pruning – can these cuttings be rooted? No harm in trying!
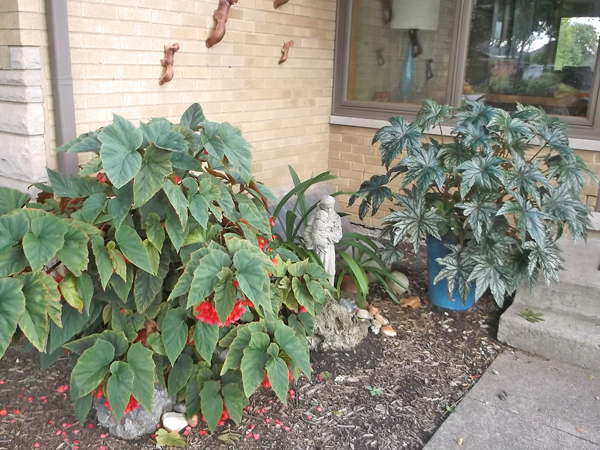 As can be seen in the photo, both the ‘Gryphon’ (yes, that is the correct spelling) and an old fashioned “Hardy Begonia” got quite large this summer, too large, in fact, to bring indoors (sadly). Taking cuttings is the only option, if I want the plants to continue in my garden next year. The fig tree overwinters in my garage, it can take below freezing temperatures, into the 20’s, but must be protected if kept outside in the Midwest. The crop of figs it produces is wonderful, some of the rooted cuttings will be planted in the ground next spring and overwintered in place with protection – stay tuned for that process next fall.
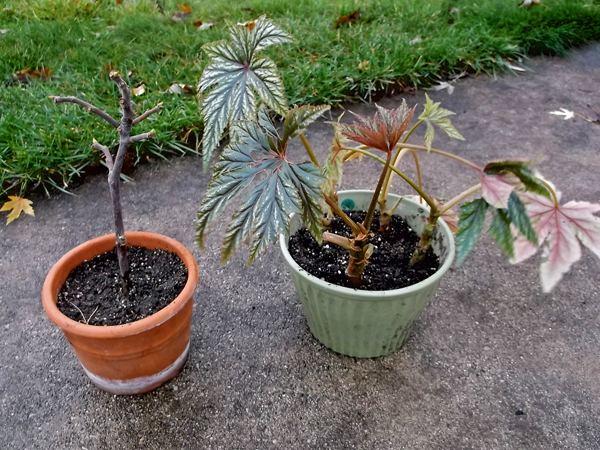
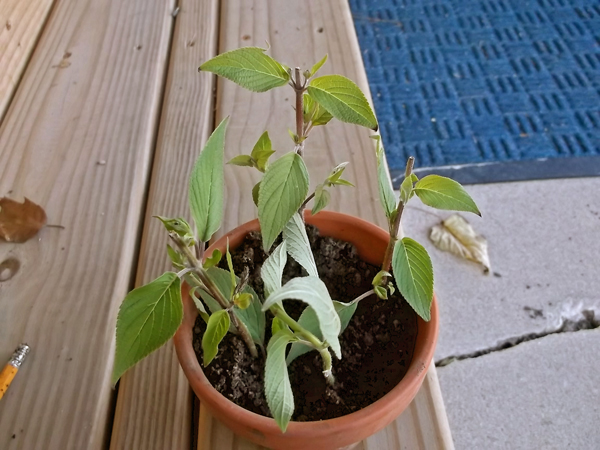
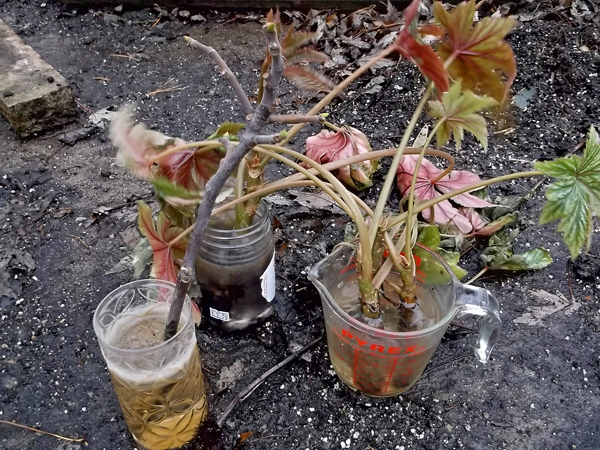 The photo above was taken in November, the begonia cutting were made as I pulled the mother plants from their pots a few weeks earlier. The fig cutting, the “stick” in the photo above, was taken in August, the leaves immediately dried and fell off, leaving only the stem, failure, or so I thought. Being a mixture of lazy and curious, I left the cutting in the glass of water for two more months, changing out the water once a week. During that time, I could see the little white buds on the stem below the water, eventually they turned into roots. Success! (so far)
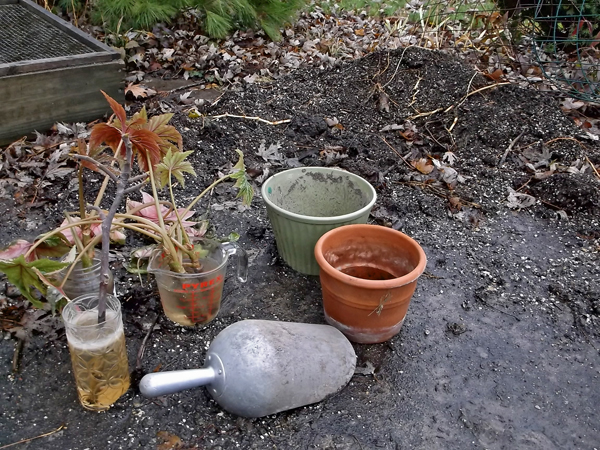 Even though it was mid-November, it happened to be warm enough to work outside, so I brought the plants and a few pots out to my backyard pile of soil (handy to have). I made sure that that pots had good drainage, then filled the pots with soil – with about a quarter of the soil consisting of perlite to maximize drainage and allow some air to get to the new roots.
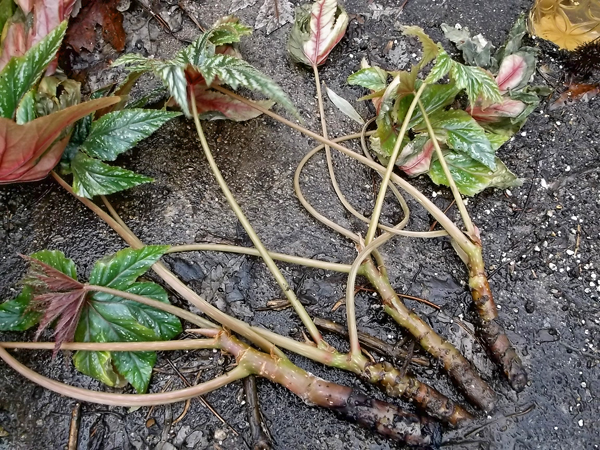
‘Gryphon’ Begonia cuttings held in water for a week, no roots yet.
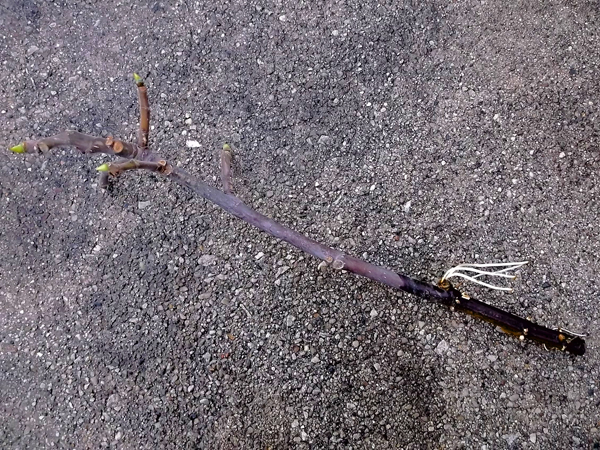
“Hardy Fig” cutting taken two months prior, in August, and kept in a glass of water – nice roots!
The potted cuttings were brought inside and set in front of an east facing window. No tenting with a plastic bag is needed since the fig already had roots, and the begonias are prone to rot with too much moisture. Next spring, the fig will be planted in the ground. Next fall, four foot high metal fencing will be put around the fig, filled with fall leaves and wrapped in plastic until night temperatures rise above 20 degrees in Spring.
The four begonia cuttings will be separated in the spring and planted in pots large enough to allow the begonias to grow as huge as the mother plant did this past season. All of these plants will be checked once a week over the winter and watered when the soil is dry to the touch.