
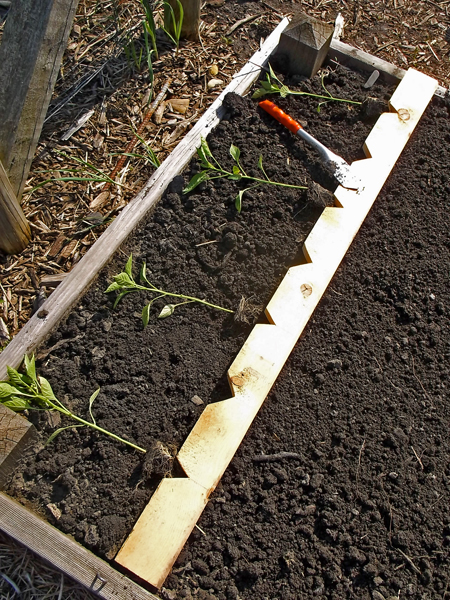
A homemade planting board makes spacing plants a breeze
This past Sunday, I visited my local flea market in Cedar Lake, Indiana. I’ve been going to this market for more than thirty years. Prior to being a flea market, it was a chicken ranch – the sheds now hold treasures rather than hens. In the warm months, the vendors set up outside as well. My mission that day was to get some seasonal flowers for outdoor pots and some pepper plants. In early April, I started some seeds indoors, you can read more about that here. Knowing my luck starting seeds inside, and having them be robust plants by the end of May, I decided not to start my green peppers from seed, but rather get them from the vendor that sells them at the flea market – 24 pepper plants for $5.50, and the plants were much larger than the hot peppers that I did start from seed, as seen in the photo below – so unusual plants, I’ll start from seeds indoors (as well as easy to start plants such as cucumbers and squash), but common plants such as green peppers, I’d rather buy.
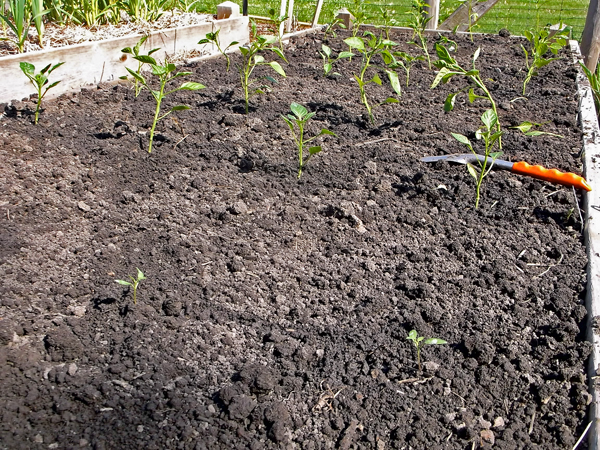
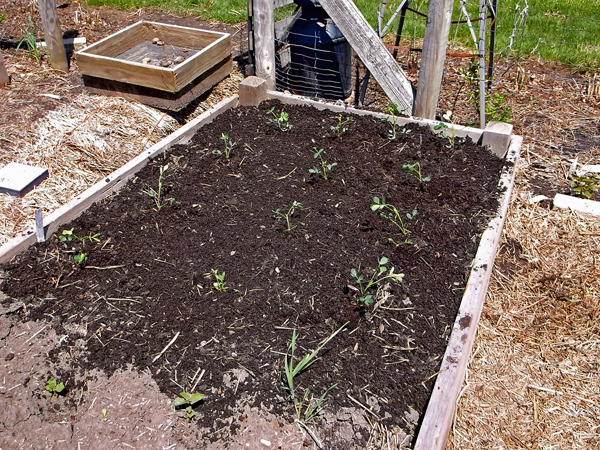
The little pepper plants in the foreground were started indoors six weeks ago. The larger plants, behind them were purchased for less than a quarter a piece. Both methods, have their advantages.
The pepper plants were spaced a foot apart in rows 18 inches apart using a homemade planting board.
The “bare” area in the foreground has the tiny pepper plants and a row of potatoes just showing some green
Growing Peanuts in the North, Don’t Cha Know
The vendor doesn’t sell anything too unusual, so my indoor starts also included some winter and summer squash, cucumbers, parsley, and … Spanish peanuts. In northern Illinois short growing season, I thought that I might have a better chance of getting a crop of peanuts if I started the seeds indoors, a month ahead of setting them out in the garden.
Of all places, I purchased my peanut seeds from Farm & Fleet, in their candy and nut aisle. A pound of raw peanuts was $2.00. I set aside about a dozen seeds, wrapped them in a moist paper towel, rolled the towel up an placed it in an unsealed plastic bag – the seeds tend to get funky (as I found out) if they don’t get some air – they actually ferment, which is death to the peanut. After a week or so on my kitchen counter top, the seeds had sent out a tap root and were ready to be planted in to pots to grow on until the weather was warm enough to plant them in the garden. The rest of the peanuts from the store were made into sweet and salty beer nuts.
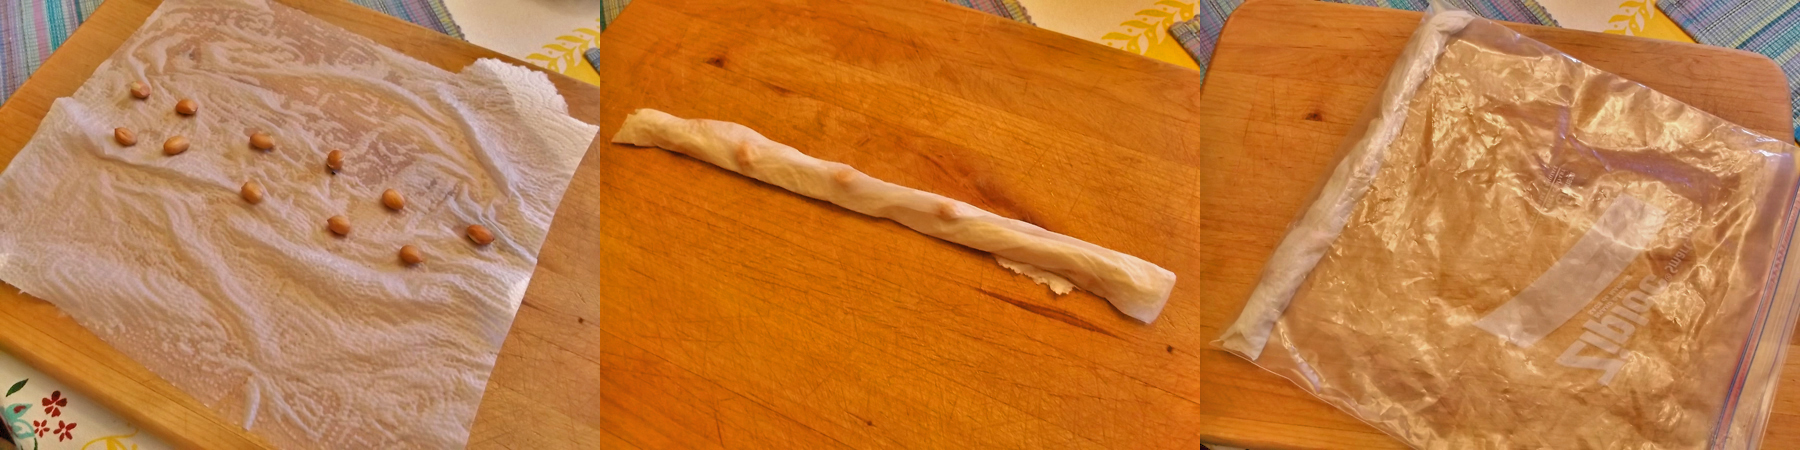
The raw peanuts were pre-sprouted in moist paper towel, then planted into pots, a week later
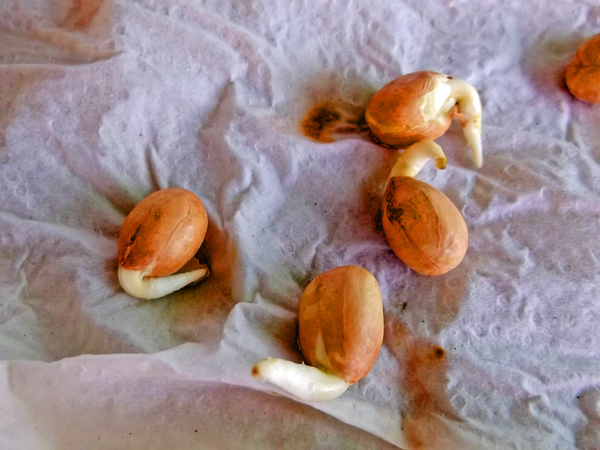
Approximately a week after being wrapped in moist toweling, little radical roots appeared

The peanut plants, on the right side of the flat of plants, a month after sprouting indoors, and now ready to plant out in the garden
The peanuts had a good root system, which was encouraging since this is the first time I have tried to grow peanuts in my vegetable garden – more out of curiosity than for any more sensible reason.

Peanuts are not know to transplant well, but with a short northern growing season, I felt my odds of getting a crop before frost were increased by starting the seeds indoors, a month before setting them out in the garden.
My vegetable garden space is limited, and I felt a bit foolish taking up this valuable real estate with a novelty crop, but I’ve been wanting to try growing peanuts for almost twenty years now, so this is the year.
The peanut plants were given about one square foot of soil a piece – a bit more might be be better – but we’ll see how this method works out
…And a Few Updates
The carrot and beet seeds planted in early April took their time coming up, about three weeks, but are now in need of thinning to about 2 to 3 inches apart. I may wait a bit longer to do this task, as beet greens are good in salads, along with mini carrots, so maybe on the first of June, these plants will get thinned out and put into a salad bowl.
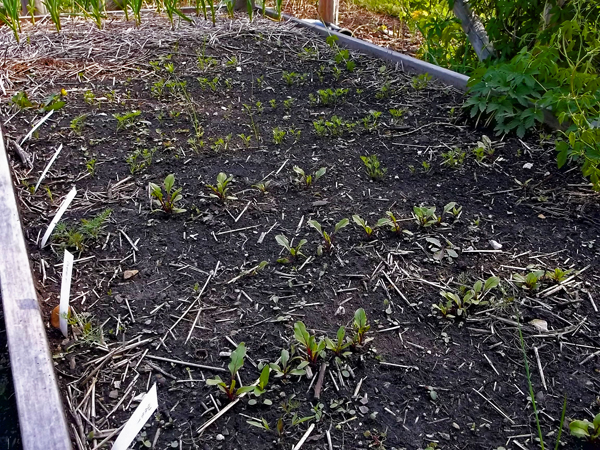
Beets in the foreground with carrots behind. The hops vine in creeping in from the right.
Cucumbers and zucchini plants were planted between the rows of beets and carrots this week. Hopefully, the beets and carrots will have been harvested before the cucumbers and zucchini get too big. A trellis will be installed for the cucumbers to climb up on.
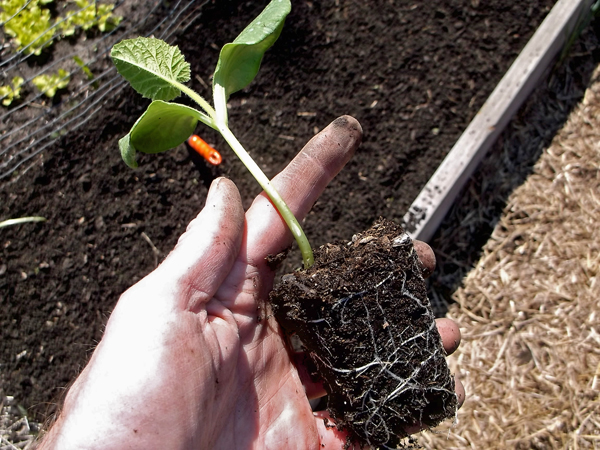
a zucchini seedling planted indoors about 10 days ago, and now ready to go into the garden soil
The lettuce, seen below, was planted at the same time as the beet and carrot seed in the next bed over – about six weeks ago – it should be ready for a first picking very soon. Four Broccoli plants, that I purchased from a family owned garden center, are doing well and even have little heads already. Last year I purchased my broccoli plants from a big box store, because they looked so nice – they died, one by one, shortly after I planted them in the garden – club root? I’m not sure, but no more Scottish grown plants for me.
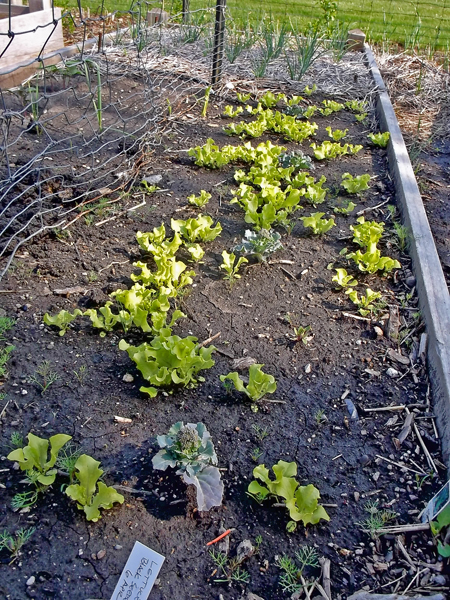
Lettuce seeds were planted the sixth of April – about six weeks ago. The onion-like shallots growing in the rear of the bed were planed last fall, and will be harvested in late summer, when the tops die down. Dill is also coming up from seed dropped last year – swallowtail butterfly larvae eat the leaves of dill, so I let it grow where it is not a problem.
The seven varieties of potatoes that I planted are also growing well and were in need of their first (last?) hilling up. All this means, in my case, is that some composted wood chips were thrown on top of the plants so that the tubers are protected from the sun (which turns them green and inedible) and allows more roots to form along the potato stems which, hopefully, will lead to more potatoes in late summer/fall. Last year, I used straw, instead of composted wood chips and had the worst potato crop ever, while slugs and pill bugs had a feast on the tubers that did form. Sorry Ruth Stout, your method did not work for me.

The potato tubers were planted in shallow holes four inches deep, now that the tubers are growing, soil needs to be tossed on top of the new growth, which ultimately will push though this new layer soil/composted wood chips. This process, call “hilling” helps to increase the potato yield.
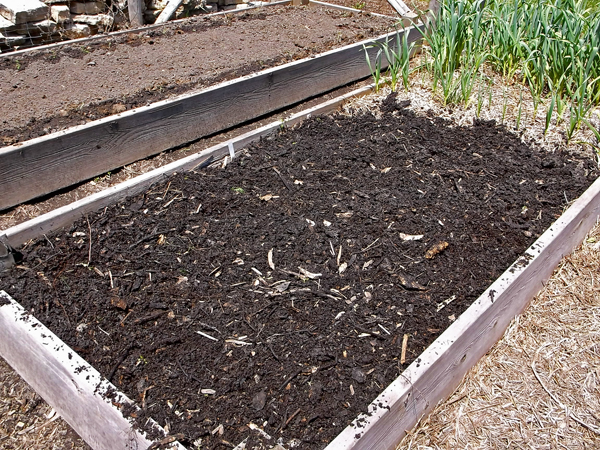
The new growth will push up through the new layer of compost laid on top of the potato bed
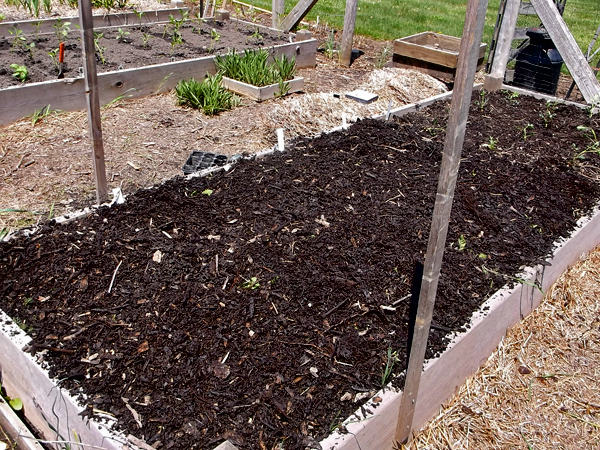
The other potato bed was given the same treatment as the first:

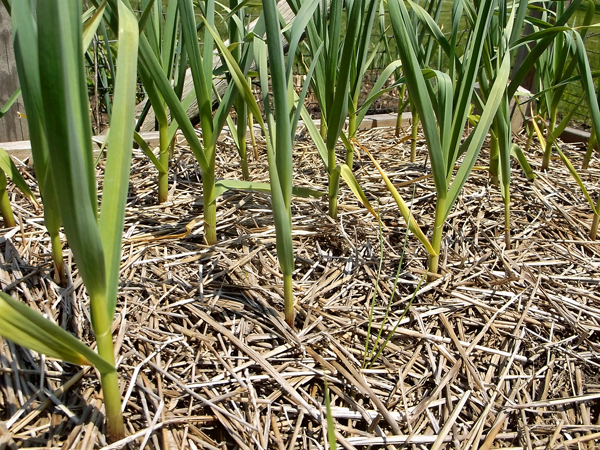
 The garlic is looking great. I give my garlic two seasons to grow before harvesting, the garlic shown in the photo below will be pulled in August, when the tops go dormant. In September, a new bed of garlic will be planted from cloves of this year’s crop.
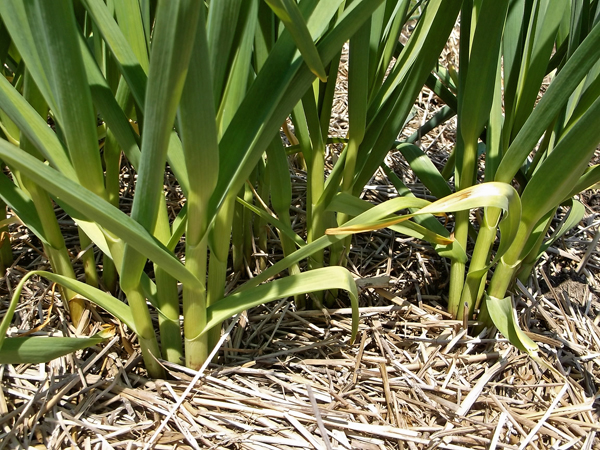
The hardneck garlic is looking robust in its second season of growth
The garlic planted last September is nowhere near as large – this being only its first season, it will be harvested in August of next year, after its second season of growth – the garlic heads will be much larger at the end of the second season – in a pinch, garlic can be harvested for kitchen use at any time the ground isn’t frozen solid. For garlic that is to be stored dry, it needs to be harvested as soon as the leaves turn yellow in late summer, otherwise, it will sprout new leaves soon after.
Garlic at the beginning of its first season, after being planted last fall
