The Great Spangled Fritillary

0262detail

A few years back, I planted some Pale Purple Coneflowers (Echinacea pallida) behind my parent’s house.  I grew the plants from seed, sown in wooden flats in the fall.  The flats overwintered outside, the next spring I had dozens of plants to set out with very little effort, or cost – plus the original seeds came from a threatened prairie remnant nearby – that property/prairie is consistently mowed now.  Too bad for the original prairie remnant for sure, but I’m happy to continue the genotype on in my plantings. 

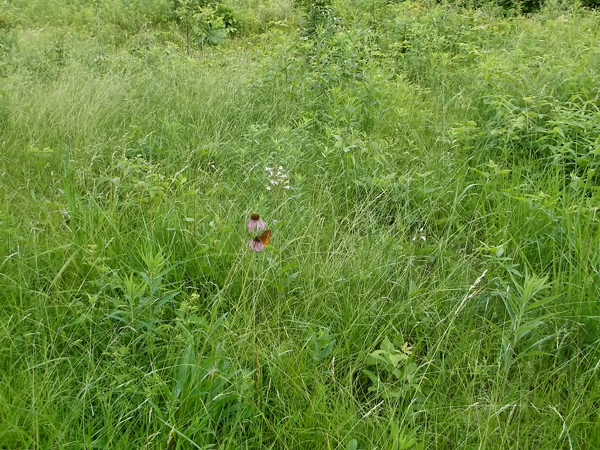
Last week while walking in the small remnant behind my parent’s house, I came upon a pair of Great Spangled Fritillary (Speyeria cybele) flying around one of the coneflowers that I had planted – it was a great feeling, knowing that through my efforts, a beautiful insect (the butterfly) found some food.  Maybe these Fritillary will lay their eggs in this small prairie as well – the Fritillary larvae (caterpillars) feed only on violets, and there are many violets, including Arrow Leaved Violet (Viola sagittata), Common Violet (V. sororia), and a few Lobed Blue Violet (V. triloba) in this remnant prairie.

0258

The adult Fritillary butterflies can get their nectar from many species of flowers, but the young larvae only eat violet leaves – and nothing else.  Without violets, there will be no young Great Spangled Fritillaries, or any other Fritillaries for that matter, since they all require violets to lay their eggs on.

1727

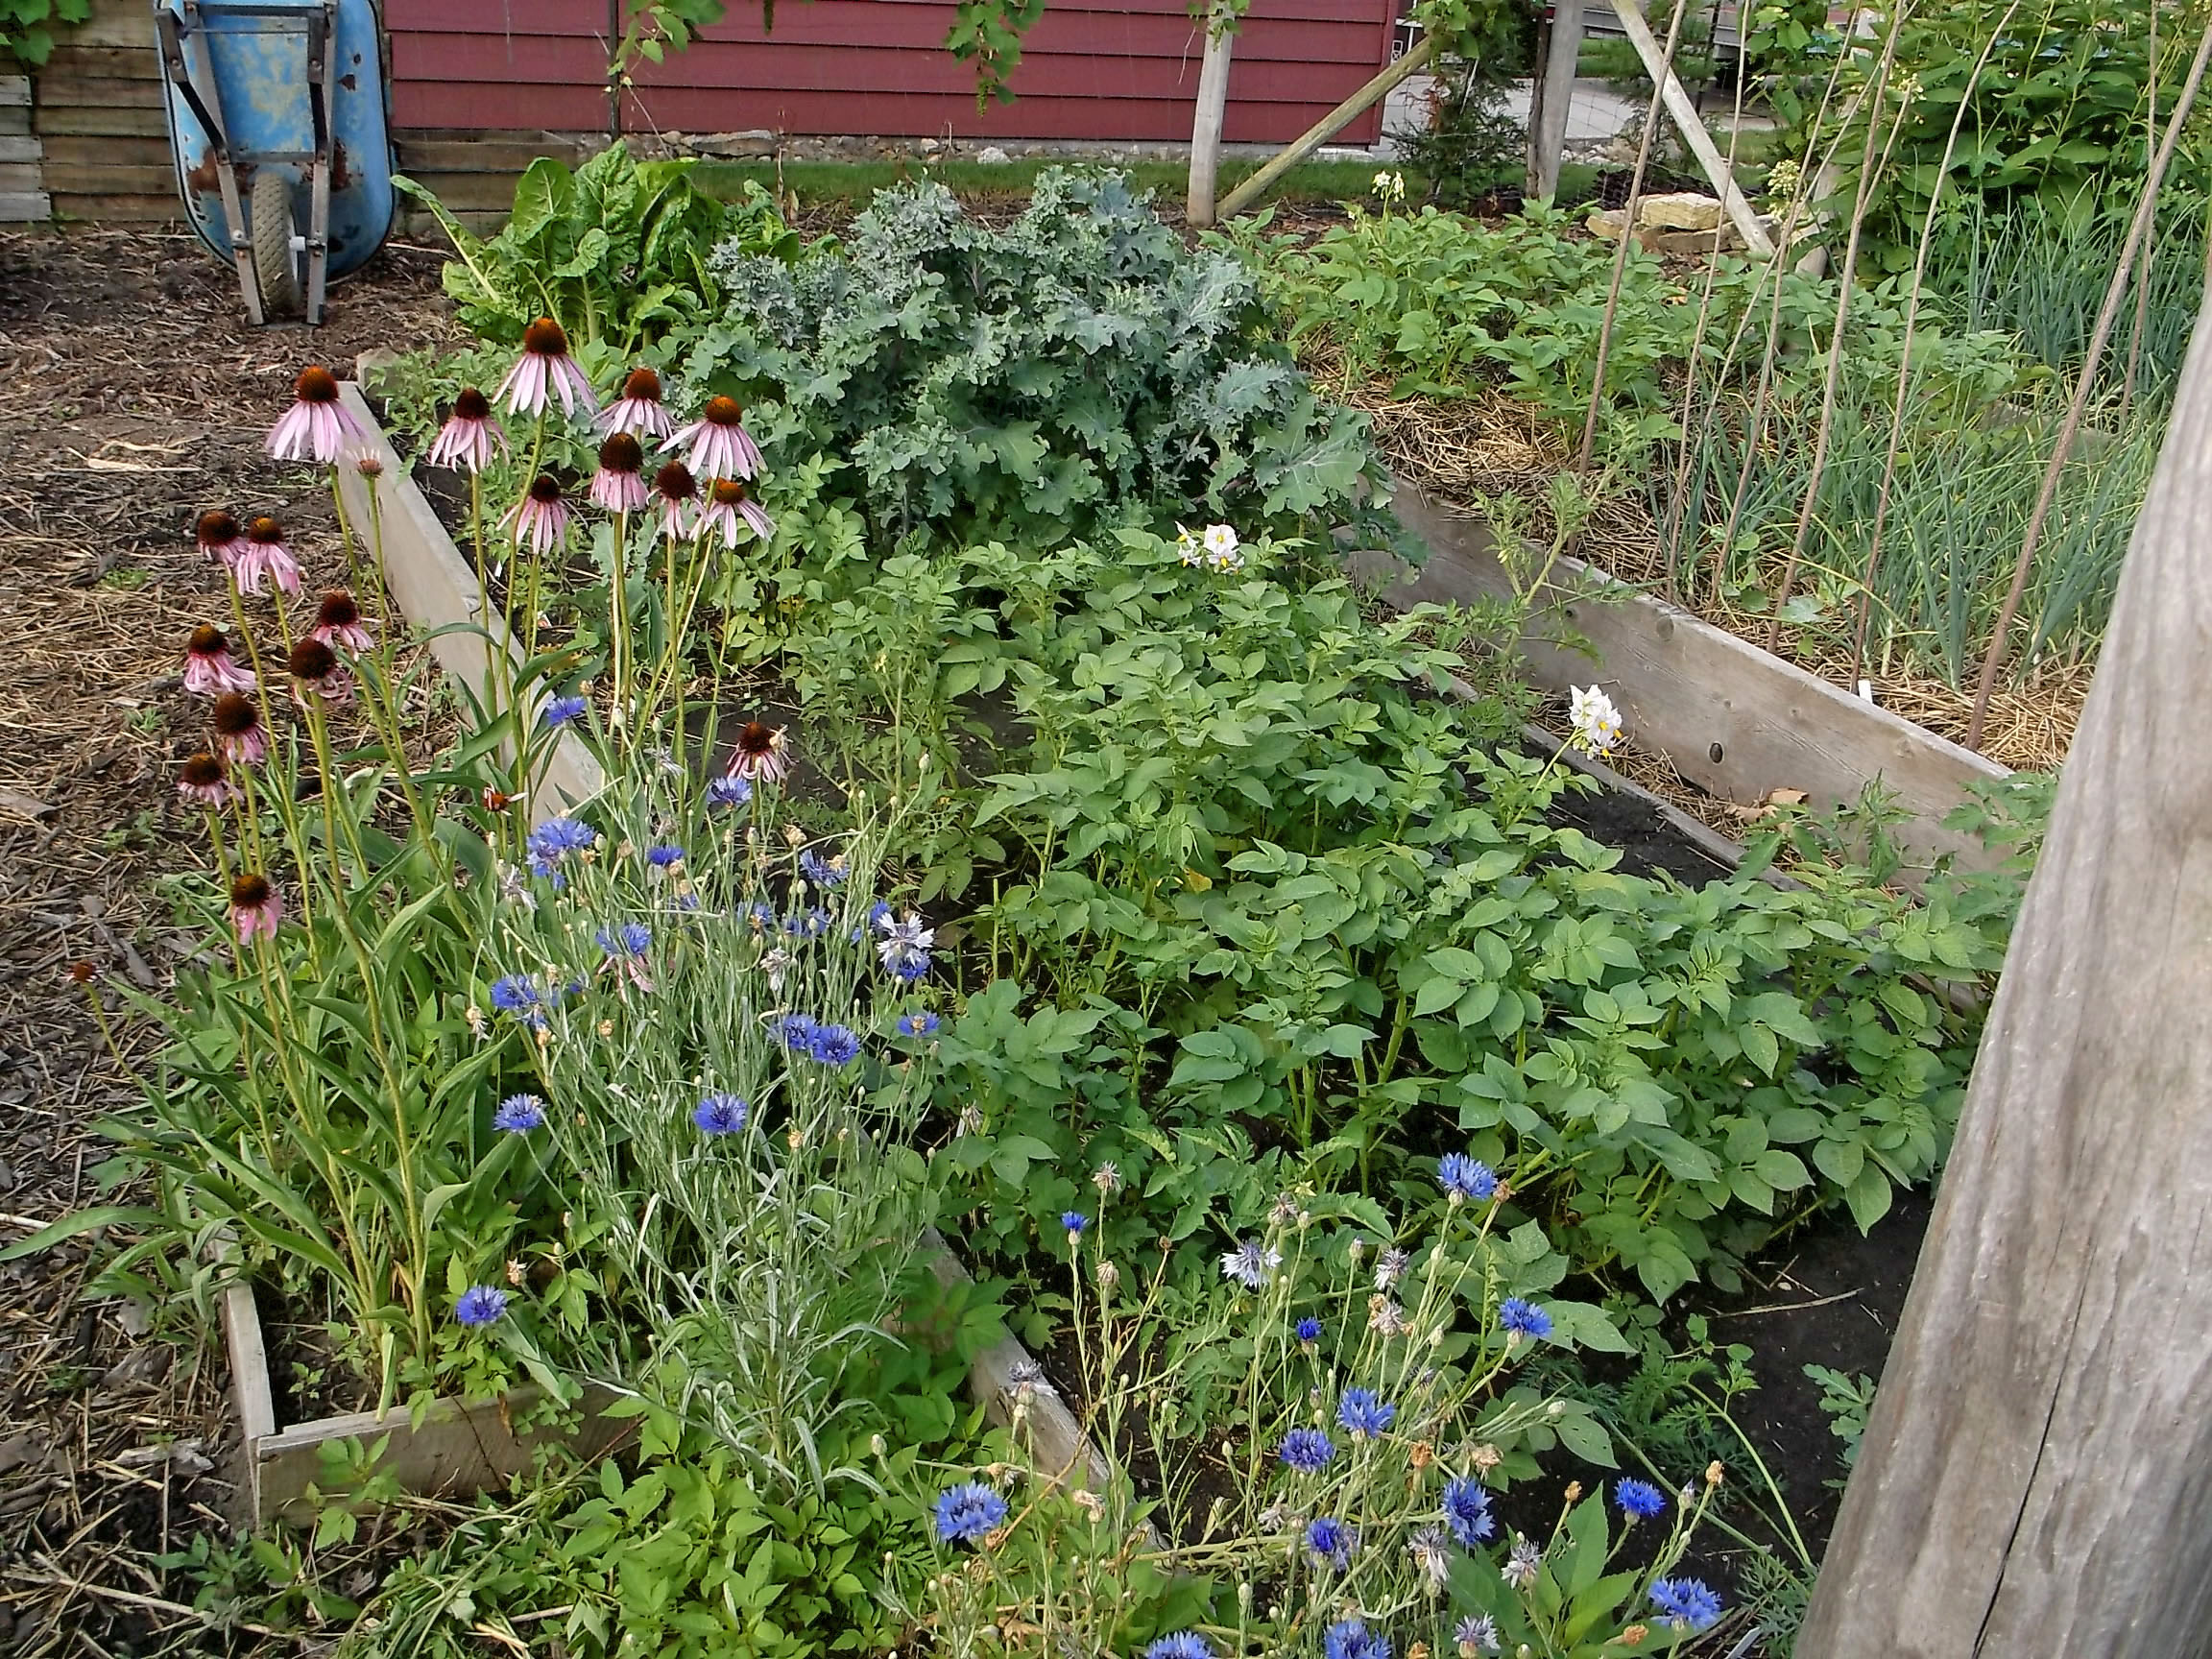
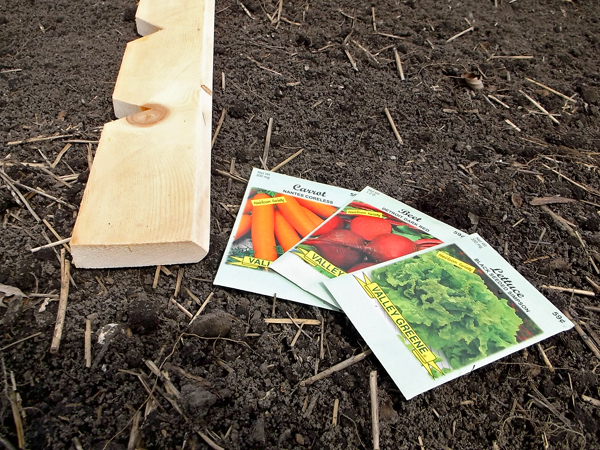
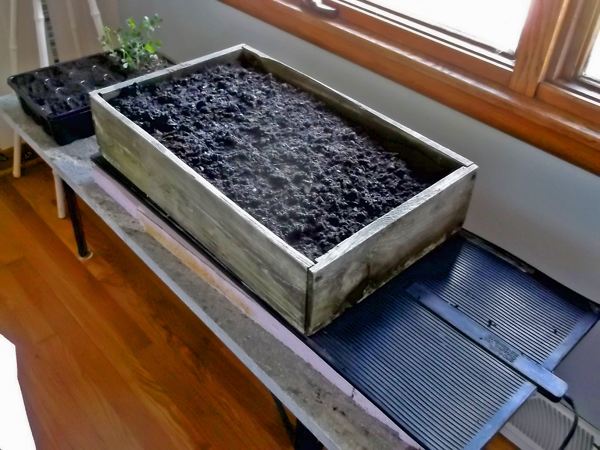
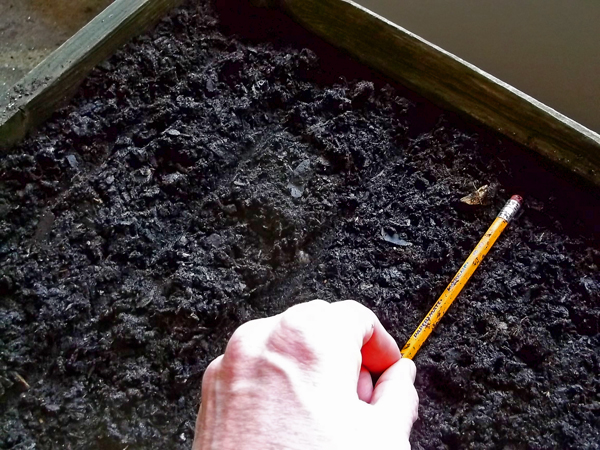
Wooden flats (lower left) of Pale Purple Coneflower waiting to be planted.

A closeup of the Pale Purple Coneflower (below) shows the yellow ring of disk flowers actively giving off pollen – next week a the ring above will begin to release its pollen – this methodical release of pollen is the reason these composite flowers stay attractive and showy for four to six weeks in summer.  Once all the disk flowers have released their pollen, the ray flowers (the petals) will begin to fade – no longer needed in the role of attracting pollinators.

0735

The “disk flowers” – the spiky part of the flower – will produce the seeds that finches will feast upon. The petals, or “ray flowers” draw in the pollinators – the bees and butterflies.

Male Fritillaries emerge from their pupae in late May or Early June – a few weeks before the females.  The males are in a constant search for females; they are so persistent, in fact, that the females are sometimes mated even before their first flight. 

The eggs that were laid on violet plants in late summer, hatch in the fall of the year, overwintering as immature larvae, or “instars” near the violets that they will need for food next spring.  Unlike Monarch Butterflies, which migrate from Mexico to Canada, over four generations in one year, only one generation of Fritillary butterflies emerges each year – Fritillaries do not migrate far from their hatching site.

0265

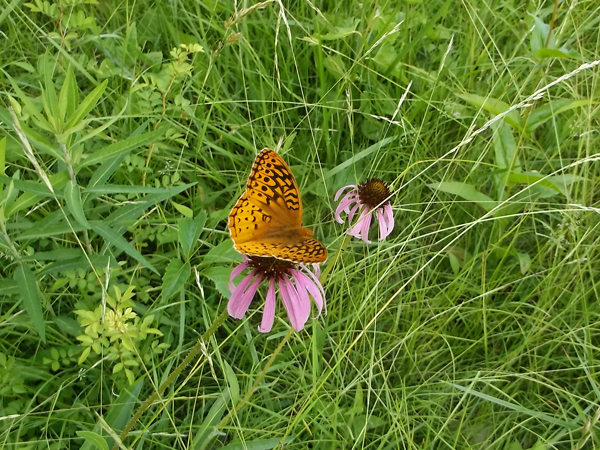
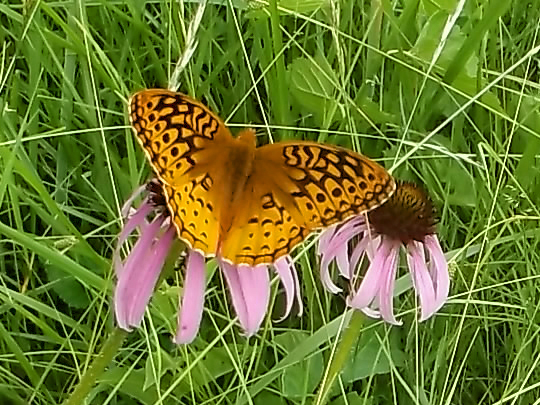
This male Great Spangled Fritillary is a bit lighter in color than the female of the species.

The one dozen species of Fritillary only occur in North America, of those, only three are permanent Illinois residents, they include the Aphrodite, Regal, and Great Spangled Fritillaries.

0262

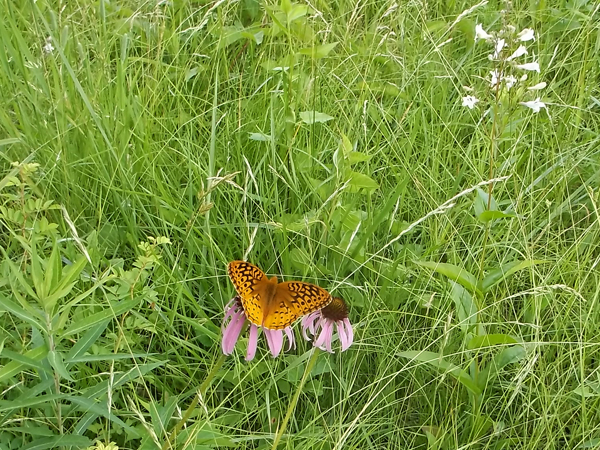
The small butterfly, nectaring on a wildflower, is a gentle reminder that it is critical that we actively work to maintain the health of our remaining prairie remnants and also that we include native plants around our commercial buildings and homes.  Wildlife, including important pollinators, depend on these plants to reproduce (and we depend on them to pollinate many of our food crops). 

If all we have around us are natural areas overrun with invasive plants,  soybean and corn fields from roadside ditch to roadside ditch planted to European Brome Grass, Bluegrass lawns and Japanese yews surrounding every home and business, with no hope of native plants to be found anywhere, we, ourselves, will be hard pressed to survive in such a destitute environment.

Source: Field Guide to Butterflies of Illinois, John Bouseman & James Sternburg, Illinois Natural History Survey, 2001


Share Button

Hiking Sweet Fern Savanna with Marianne Hahn


8834

Sand Phlox, Phlox bifida, a low growing wildflower found in sandy soils

In Eastern Kankakee County, Illinois, otherwise known as the Kankakee Sands, nature still abounds.  One can’t hardly find a road in Pembroke Township that towering Black Oaks (Quercus velutina), the backbone of Pembroke’s high quality Black Oak Savannas, don’t dominate the scenery.  Unlike many communities that have sprung up in the shade of oaks, the residents of Pembroke Township have learned to live with nature, not dominate it by underplanting the oaks with lawns/pasture grass and Spruce trees.  No, in Pembroke, one can still imagine what the area might have looked like prior to settlement by early farmers and ranchers. 

Two reasons that such a rich plant community still exists are the sandy soils – not great for farming, and the area’s extensive poverty.  The sandy soils left behind by glacial lakes and blown into dunes by wind action, support a unique community of plant and animal life.  This sandy soil made for poor crop yields and was overlooked by 19th century, white European farmers and so the land was sold to African American farmers and ranchers beginning in the 1850’s; and with many newly freed slaves emigrating from the American South and seeking a refuge from racists and the ability to own property, Pembroke Township became an attractive destination soon after the end of the Civil War in the 1860’s.  An excellent article about the area, including its settlement history, was published in the Illinois Steward, entitled: “Pembroke Township: The Lost Corner of the Kankakee Sands.”

I made my first visit down to the town of Hopkins Park, in Pembroke Township with Marianne Hahn in 1999.  At the time, Marianne, a retired microbiologist, had just purchased some land there, with the intention of managing it in a natural state in perpetuity.   Over the past fifteen years, Marianne has acquired additional land contiguous with her original purchase as it has become available, and Marianne’s property, now known at “Sweet Fern Savanna,” after the fragrant low shrub, Comptonia peregrina, found growing there, is now an Illinois Land and Water Reserve, which protects the land from all future development.  The other day, I took a drive down to Hopkins Park, with my friend Marianne to enjoy a pleasant spring hike.

8836

Sand Phlox, only six inches tall, was in full bloom at the end of April

8838

Marianne, keying out native plant number 436 on the property, Poverty Oats

8839

The green in this photo is all Lowbush Blueberry,Vaccinium angustifolium, found in the flatwoods, and just coming into bloom.

8843

Both the fruit, about one quarter inch around, and the flowers (shown) are small. The fruit is very tasty when it ripens in July.

8845

Just before everything starts to turn green, the landform can best be admired

8846

This White Oak has seen many fires over the years, that may be why it has multiple stems – due to regrowth after a burn in its younger days

8856

Even some large trees eventually succumb to fire, but fire, either started by lighting or by humans, helps to keep the the oak savanna open and healthy, without fire, this would become a thicket

8858

A few cultural legacies remain on the land, including this 1949/50 Dodge Wayfarer – a post-war beauty in its day

8860

Share Button

In the Vegetable Garden: Early April Seeding


8118 It’s April in the Chicago area, and it’s time to stop dreaming about getting outside and scratching around in the vegetable garden and start doing some planting!  While there are plenty of vegetables that can be sown directly into the cool spring soil, I generally have a somewhat limited pallet and they include carrots, beets, lettuce, sometimes kale, spinach, and other greens.  I’ll also plant onion sets, if I think to buy some, but usually rely on my shallots to carry me through – and those were planted last fall.  Also in the next few days, I’ll get my potatoes planted.  It’s starting to get busy around here.

8235 As a kid growing up in the 1970’s, one of the shows I’d watch religiously was Jim Crockett’s Victory Garden on PBS Public Television, running from 1975 until 2007.  Jim had a no-nonsense approach to his garden instruction – he knew what he was about and he told it like it was .. clearly and enjoyably.  It was like having a grandfather in the garden, showing you what to do and what to look out for.  The show had many hosts after his death in 1979, but the show was never as good as when Jim was there.  Thankfully, Jim wrote “Crockett’s Victory Garden”, published in 1977.  The book is invaluable to anyone wanting to grow vegetables in their backyard.  Each chapter in the book outlines the garden activities for a particular month ..if it’s April, it’s time to get the potatoes in the ground, plant carrots, plant out that apple tree, etc.  I still remember buying my copy in the bookstore more than 35 years ago.

8233 In the book, Jim included instructions on how to make a planting board.  This year, I finally decided to make one for myself, and it’s pretty useful – surprise!  My planting beds are 46 inches wide, so I made mine to fit, rather than the specified 48″ – I shorted my spacing of notches to 5.75″ from the 6″ in the book to account for this shorter length.  I used the planting board the same day it was made a few days ago, when I planted lettuce, carrot, and beet seeds in my vegetable garden. 

To make my planting board, I used some wood that I had pulled from a trash bin and had lying around the basement, a 1×4 piece of lumber is what is needed:

8114

This piece of scrap wood, destined for the landfill, came in handy

8116

The board was cut to length and marked every six inches where the notches would be cut out

8119

The finished product, ready to go into service for many years. I only question is: “Why did I wait so long to make one?”

8122

The edge of the board was cut at an angle, allowing it to be used to make furrows for planting seeds

8113 The raised beds of my garden allow the soil to drain well and warm up sooner in the spring, than if I didn’t have raised beds – the poorly drained soil in this part of my yard necessitated the raised beds, so they are not just a luxury.  Last fall, I prepared one of the raised beds for planting out garlic cloves.  The middle of the bed was left vacant for early spring planting of other crops.

8120The soil was raked smooth, then the planting board was used to make shallow 1/2 inch deep furrows, spaced about ten inches apart, for the seeds.

8124

Pinching a crease in the seed packet allows for more control when shaking out the seeds.

The process went quickly and the angled edge of the planting board worked well in making the furrows consistent.  Trying to avoid too much thinning in a few weeks, the seeds were spaced about 1.5 inches apart.  From each seed packet, I was able to plant four, 4ft rows.  The cost of each seed packet was five cents – yes a nickel each, thanks to a sale at The Home Depot of 20 packs of seed for a dollar.  After the seeds were planted, a steel garden rake was used to tamp the soil down and then the plot was watered and will be watered every day, until the seeds come up, and as necessary after that.

8125

Tamping the soil down around the seeds help them to make good contact with soil moisture – if the soil is allowed to dry out before the seeds spout – they may never appear.

Indoor Seeding

8128A few vegetables need warm soil (and a long season) to sprout and ultimately produce fruit.  If planted outside in April, the seeds would sulk until soil temperatures reached the 70° F mark, by then, it would be too late to get a harvest from the plants.  For that reason, I start my tomatoes and peppers indoors with bottom heat.  I also planted some parsley, ground cherry, and broccoli this year, since I had room for these as well.

8127For bottom heat, I use a 14″ by 36″ rubber heat mat made by Bird-x of Chicago.  The mat keeps the soil at about 70° F, perfect for starting seeds.  Once the seeds have sprouted, I’ll unplug the heat mat.  The heat mat is set on rigid foam insulation so that more of the heat goes into the soil, rather than into the room.

8136I used a commercial potting mix specifically for vegetables and outdoor flowers to fill my flats primarily because it’s weed and disease free – very important when starting tender seedlings.  A mix of compost, peat moss, and perlite could be used as well, if it is pasteurized at 180° for about a half an hour in an oven or outdoor grill.

8129

A pencil makes for a handy tool when creating furrows in the seed flats.

I used a wooden seed flat, because the heat transfer is better, the soil stays moister longer, I can get more plants in small area, and I find it quicker to plant than plastic cell flats.  But since I earlier started some Spanish peanuts in a plastic tray, I also planted some tomatoes seeds in the unused portion as well.

8134

Everything is labeled as to species and date of planting, These labels follow the plants later in the season as they get planted out in the garden.  After watering everything thoroughly, plastic wrap is laid on top of the soil to retain moisture in the soil until the seeds sprout.  Once the seeds come up, the plastic wrap is removed, and the seedlings are watered as needed. 

8135

The moist soil is covered with plastic wrap until the seeds sprout, when it is then removed.

In the past, I have tried to grow seedlings under artificial lighting (florescent tubes), without much success.  No matter how close the lights are to the plants or how long I leave them on (using a timer), the plants always got spindly and mostly fell over and died.  This year, the east facing window will have to do, and as it gets warmer outside, I will slowly begin to set out the trays where they can get more light.

Share Button