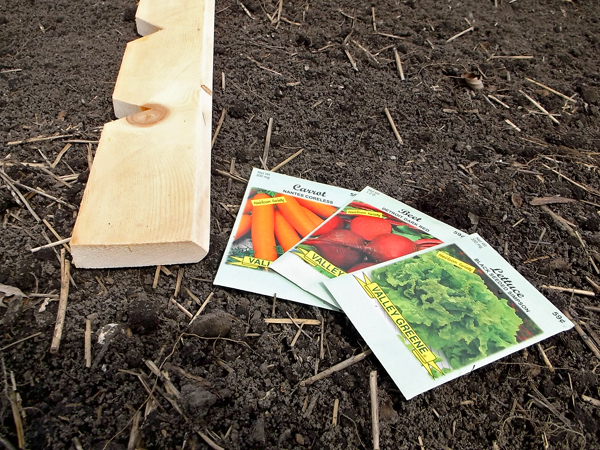
 It’s April in the Chicago area, and it’s time to stop dreaming about getting outside and scratching around in the vegetable garden and start doing some planting! While there are plenty of vegetables that can be sown directly into the cool spring soil, I generally have a somewhat limited pallet and they include carrots, beets, lettuce, sometimes kale, spinach, and other greens. I’ll also plant onion sets, if I think to buy some, but usually rely on my shallots to carry me through – and those were planted last fall. Also in the next few days, I’ll get my potatoes planted. It’s starting to get busy around here.
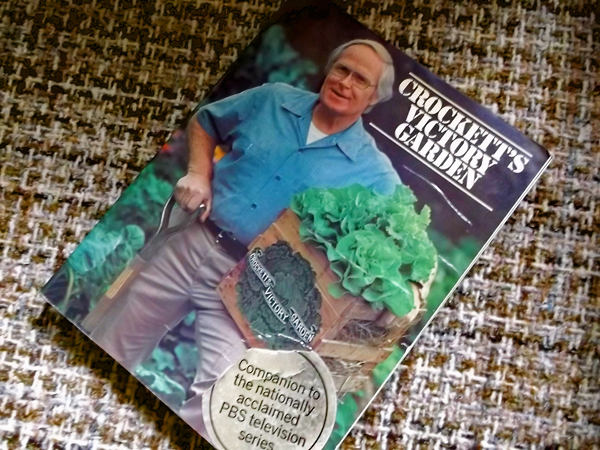 As a kid growing up in the 1970’s, one of the shows I’d watch religiously was Jim Crockett’s Victory Garden on PBS Public Television, running from 1975 until 2007. Jim had a no-nonsense approach to his garden instruction – he knew what he was about and he told it like it was .. clearly and enjoyably. It was like having a grandfather in the garden, showing you what to do and what to look out for. The show had many hosts after his death in 1979, but the show was never as good as when Jim was there. Thankfully, Jim wrote “Crockett’s Victory Garden”, published in 1977. The book is invaluable to anyone wanting to grow vegetables in their backyard. Each chapter in the book outlines the garden activities for a particular month ..if it’s April, it’s time to get the potatoes in the ground, plant carrots, plant out that apple tree, etc. I still remember buying my copy in the bookstore more than 35 years ago.
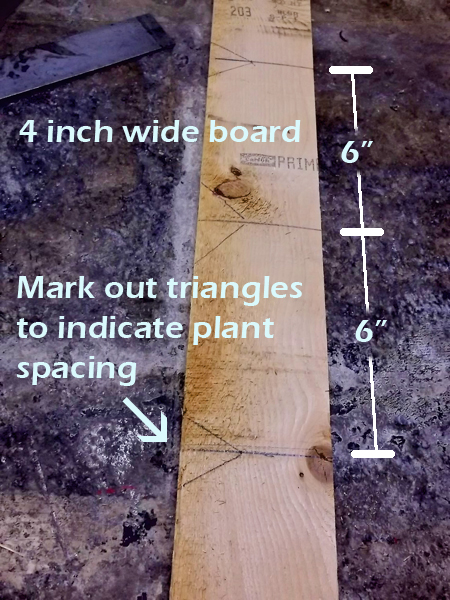
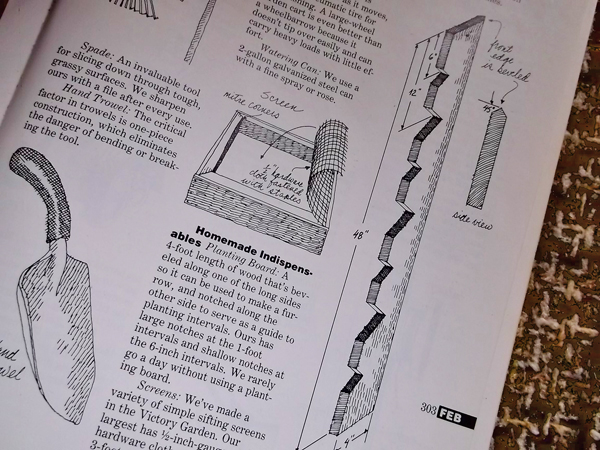 In the book, Jim included instructions on how to make a planting board. This year, I finally decided to make one for myself, and it’s pretty useful – surprise! My planting beds are 46 inches wide, so I made mine to fit, rather than the specified 48″ – I shorted my spacing of notches to 5.75″ from the 6″ in the book to account for this shorter length. I used the planting board the same day it was made a few days ago, when I planted lettuce, carrot, and beet seeds in my vegetable garden.
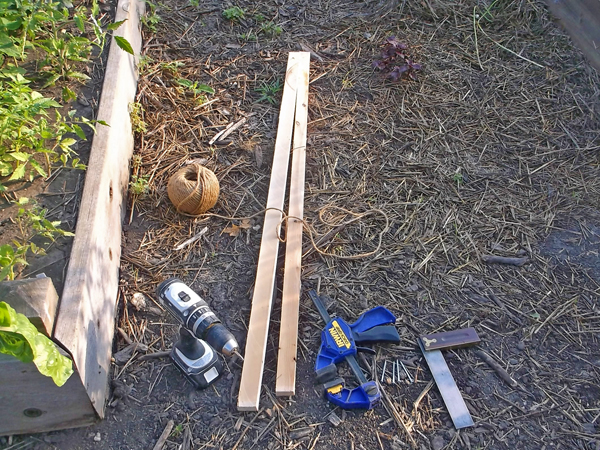
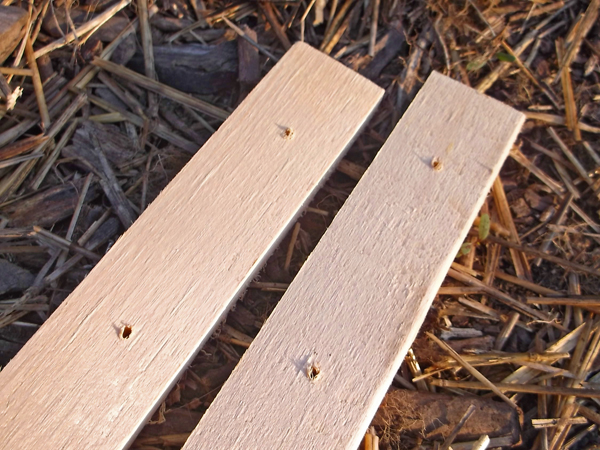
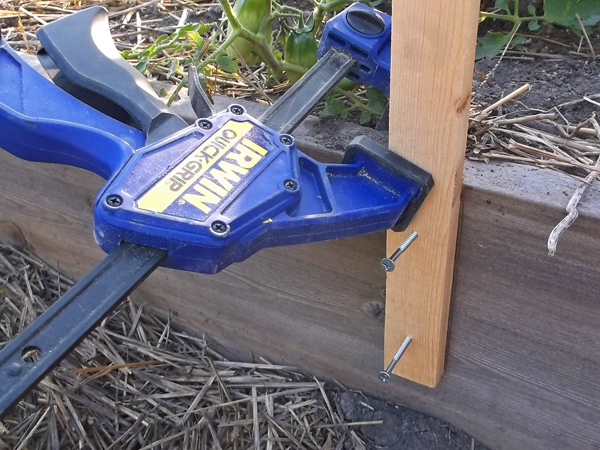
To make my planting board, I used some wood that I had pulled from a trash bin and had lying around the basement, a 1×4 piece of lumber is what is needed:
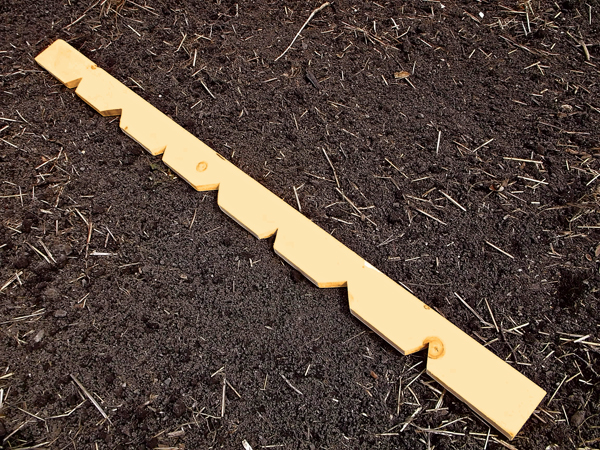
The finished product, ready to go into service for many years. I only question is: “Why did I wait so long to make one?”

The edge of the board was cut at an angle, allowing it to be used to make furrows for planting seeds
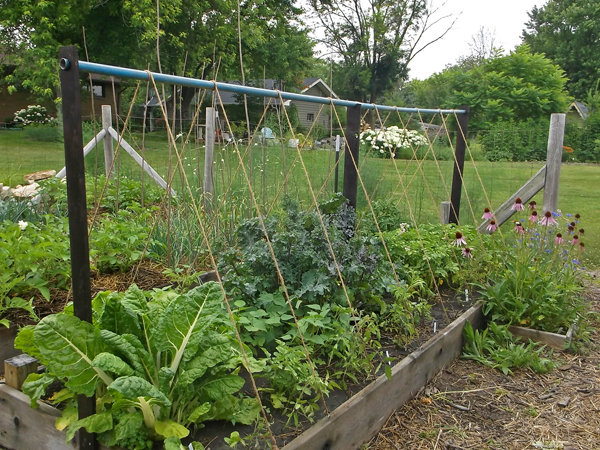
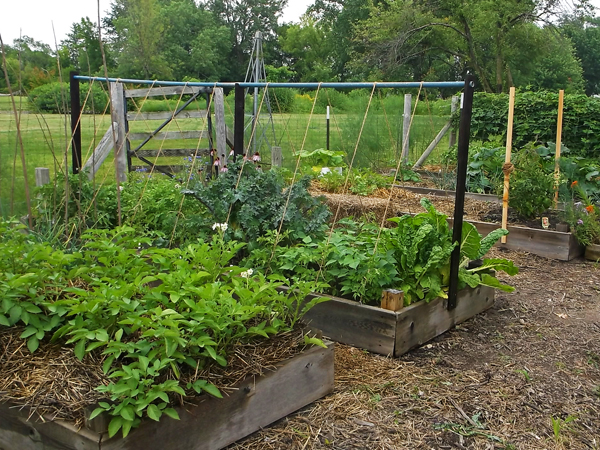
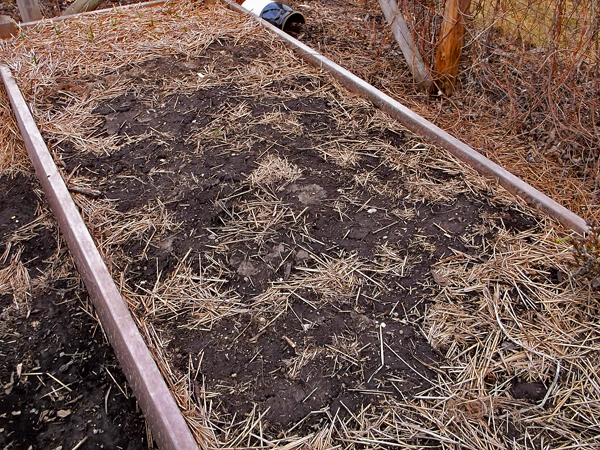 The raised beds of my garden allow the soil to drain well and warm up sooner in the spring, than if I didn’t have raised beds – the poorly drained soil in this part of my yard necessitated the raised beds, so they are not just a luxury. Last fall, I prepared one of the raised beds for planting out garlic cloves. The middle of the bed was left vacant for early spring planting of other crops.
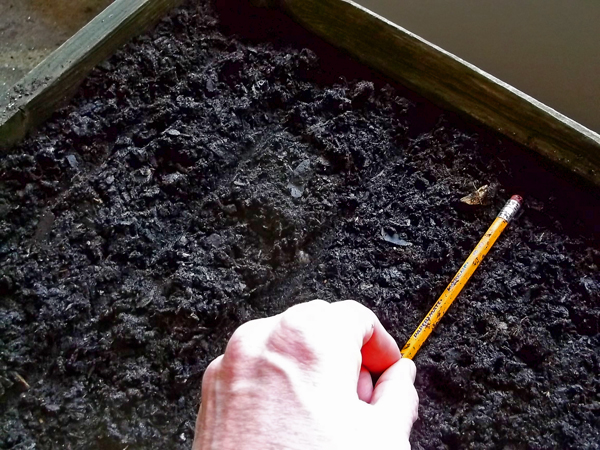
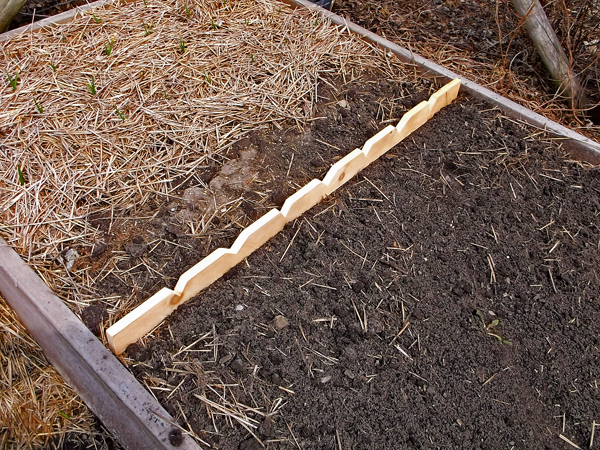 The soil was raked smooth, then the planting board was used to make shallow 1/2 inch deep furrows, spaced about ten inches apart, for the seeds.
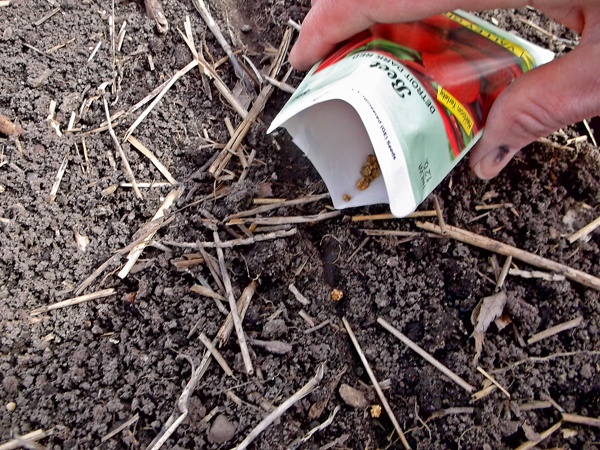
The process went quickly and the angled edge of the planting board worked well in making the furrows consistent. Trying to avoid too much thinning in a few weeks, the seeds were spaced about 1.5 inches apart. From each seed packet, I was able to plant four, 4ft rows. The cost of each seed packet was five cents – yes a nickel each, thanks to a sale at The Home Depot of 20 packs of seed for a dollar. After the seeds were planted, a steel garden rake was used to tamp the soil down and then the plot was watered and will be watered every day, until the seeds come up, and as necessary after that.
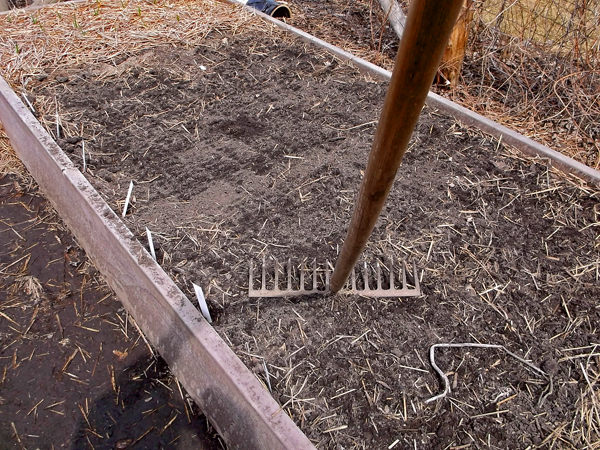
Tamping the soil down around the seeds help them to make good contact with soil moisture – if the soil is allowed to dry out before the seeds spout – they may never appear.
Indoor Seeding
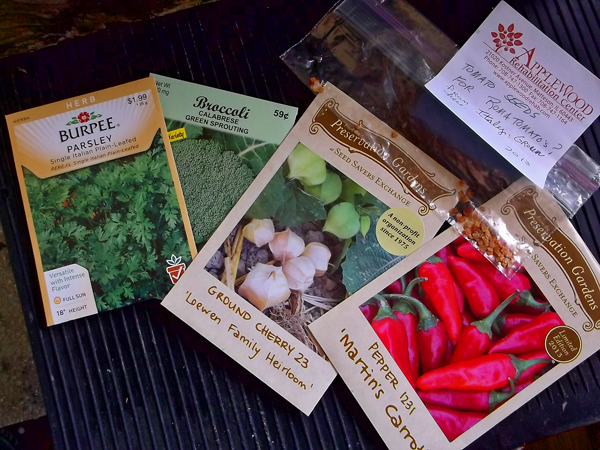 A few vegetables need warm soil (and a long season) to sprout and ultimately produce fruit. If planted outside in April, the seeds would sulk until soil temperatures reached the 70° F mark, by then, it would be too late to get a harvest from the plants. For that reason, I start my tomatoes and peppers indoors with bottom heat. I also planted some parsley, ground cherry, and broccoli this year, since I had room for these as well.
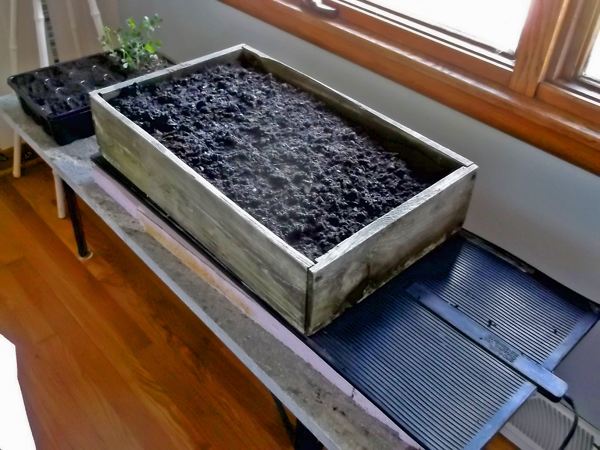 For bottom heat, I use a 14″ by 36″ rubber heat mat made by Bird-x of Chicago. The mat keeps the soil at about 70° F, perfect for starting seeds. Once the seeds have sprouted, I’ll unplug the heat mat. The heat mat is set on rigid foam insulation so that more of the heat goes into the soil, rather than into the room.
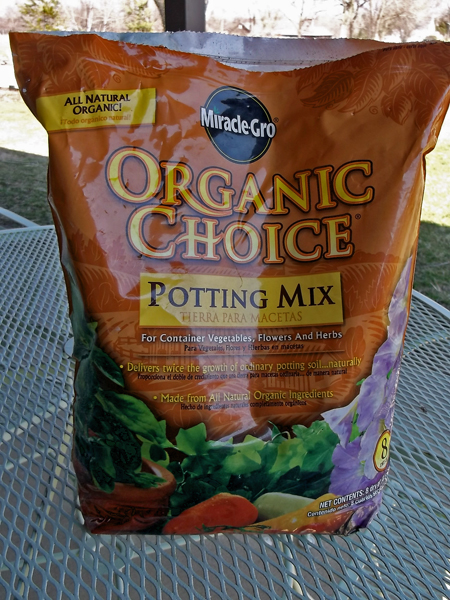 I used a commercial potting mix specifically for vegetables and outdoor flowers to fill my flats primarily because it’s weed and disease free – very important when starting tender seedlings. A mix of compost, peat moss, and perlite could be used as well, if it is pasteurized at 180° for about a half an hour in an oven or outdoor grill.
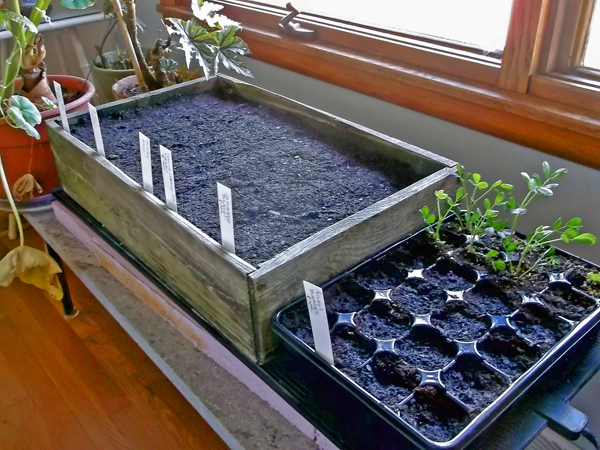
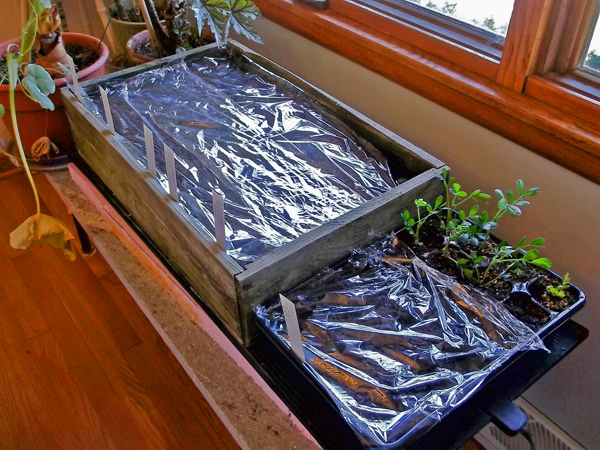
I used a wooden seed flat, because the heat transfer is better, the soil stays moister longer, I can get more plants in small area, and I find it quicker to plant than plastic cell flats. But since I earlier started some Spanish peanuts in a plastic tray, I also planted some tomatoes seeds in the unused portion as well.
Everything is labeled as to species and date of planting, These labels follow the plants later in the season as they get planted out in the garden. After watering everything thoroughly, plastic wrap is laid on top of the soil to retain moisture in the soil until the seeds sprout. Once the seeds come up, the plastic wrap is removed, and the seedlings are watered as needed.
In the past, I have tried to grow seedlings under artificial lighting (florescent tubes), without much success. No matter how close the lights are to the plants or how long I leave them on (using a timer), the plants always got spindly and mostly fell over and died. This year, the east facing window will have to do, and as it gets warmer outside, I will slowly begin to set out the trays where they can get more light.


